The scan function on a printer allows you to take a physical document or image and convert it into a digital file that can be saved on your computer or sent via email. To use the scan function of a printer, follow these general steps:
- Ensure that your printer is connected to your computer and turned on.
- Open the printer software or control panel on your computer.
- Choose the option to scan a document or image.
- Select the type of scan you want to perform (e.g., color or black and white).
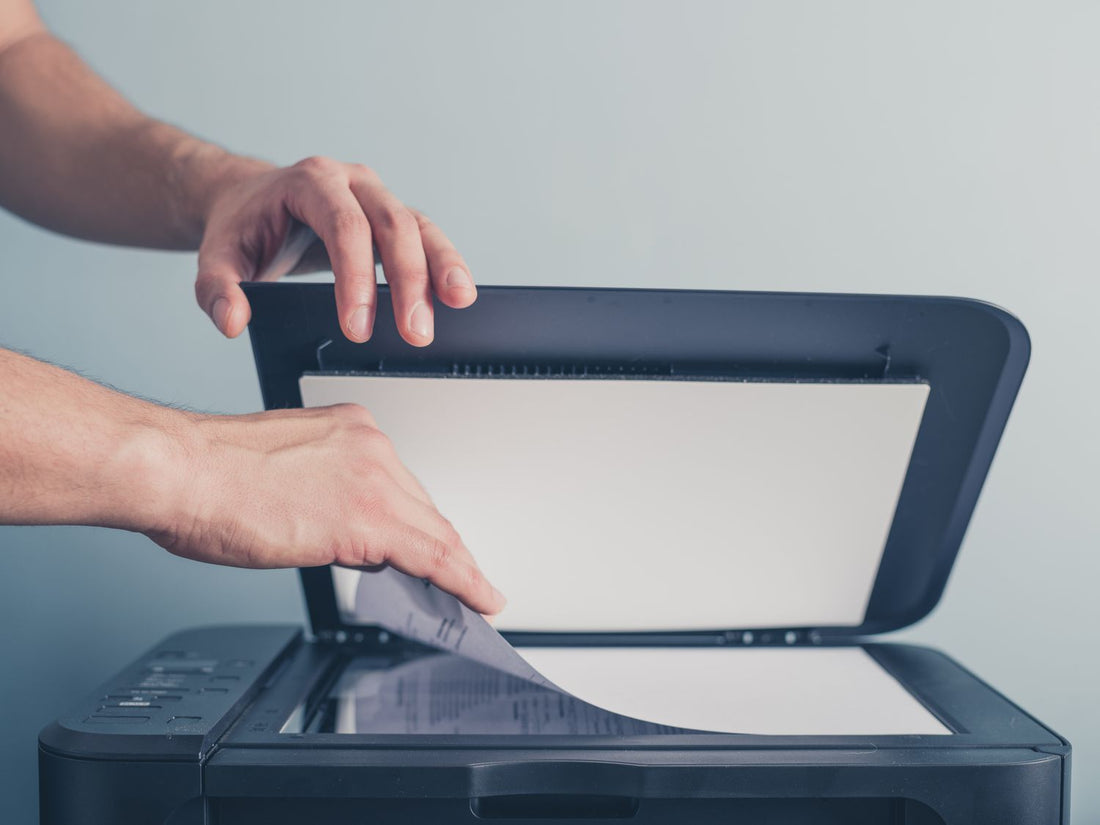
- Place the document or image face-down on the scanner glass or in the automatic document feeder.
- Adjust any settings for resolution, quality, or page size as needed.
- Click the "Scan" button to initiate the scan.
- Wait for the scan to complete, then save the resulting digital file to your computer or send it via email.
Note that the specific steps may vary depending on your printer model and software. Consult your printer's user manual or online support resources for more detailed instructions.

How to scan from printer to computer
To scan a document or image from your printer to your computer, you can follow these general steps:
- Turn on the printer and make sure it is connected to your computer.
- Place the document or image that you want to scan face-down on the glass or in the designated area of the automatic document feeder (ADF).
- On your computer, open the scanning software that came with your printer or download it from the manufacturer's website if you have not already installed it.
- Open the scanning software and select the type of scan you want to perform, such as color or black and white.
- Choose the location where you want to save the scanned file on your computer.
- Select the "Scan" button or option within the software.
- Wait for the scan to complete.
- Once the scan is complete, check the scanned image to ensure it was captured correctly and is clear.
- Save the scanned document or image to your desired location on your computer.
Note that these instructions may vary slightly depending on your specific printer model and software. Consult your printer's manual or online support resources for more detailed instructions.
How to scan from printer
The process for scanning from a printer can vary depending on the make and model of your printer, but here are some general steps you can follow:
1.Place the document or photo you want to scan face down on the scanner glass.
- On your printer, locate the scan button or icon. It may be labeled with a picture of a scanner or have the word "Scan" written on it.
- Press the scan button or icon. This should bring up a scanning menu on your printer's display screen.
- From the menu, select the type of document you're scanning (e.g. photo, document, etc.) and the desired file format (e.g. PDF, JPEG, etc.).
- If your printer has a preview option, use it to preview the scanned image and make any necessary adjustments (e.g. crop the image, adjust the resolution, etc.).
- Once you're satisfied with the settings, press the scan button again to start the scanning process.
- After the scan is complete, you can usually save the scanned document directly to your computer or send it to an email address.
Keep in mind that these steps are general guidelines and may not apply to all printers. Be sure to consult your printer's user manual or online documentation for specific instructions.


Leave a comment