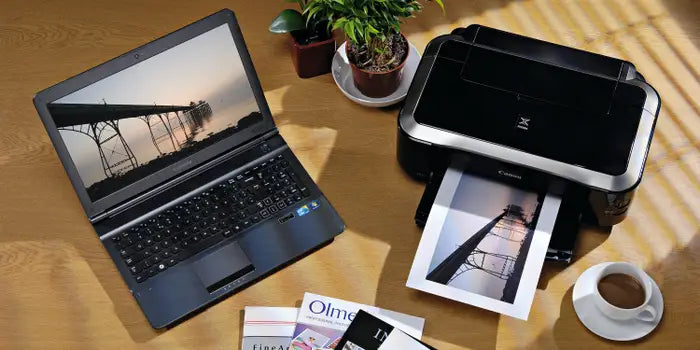
A printer and a computer are often used together to create hard copies of digital documents and images. The computer sends information to the printer, which then prints that information onto paper or another material. Without a computer, a printer is unable to receive information and cannot function properly. Similarly, without a printer, a computer is limited in its ability to produce physical copies of digital files.

To connect a printer to a computer, you typically need to use a USB cable or connect via Wi-Fi or Bluetooth. Once connected, most modern operating systems will recognize the printer and automatically install the necessary software drivers. This enables the computer to communicate with the printer and send print commands. Below, we will introduce how to connect a printer to a laptop, how to connect wireless printer to laptop and how to connect a printer to a computer.
How to connect computer to printer wireless
To answer how to connect computer to printer, you can follow these general steps:
- Turn on your wireless printer and make sure it is connected to your Wi-Fi network.
- On your computer, go to your settings and select "Devices" or "Printers and Scanners".
- Click "Add a printer or scanner".
- Your computer should automatically detect your wireless printer. If it doesn't, click "The printer that I want isn't listed" to search for it manually.
- Follow the on-screen instructions to complete the connection process.
Note that the exact steps may vary depending on your operating system and the model of your printer. Additionally, some printers may require you to download and install software or drivers before you can connect wirelessly. Be sure to consult your printer's manual or manufacturer website for more specific instructions.

How to connect printer to computer / how to connect printer to laptop / to connect laptop to printer
The process for connecting a printer to a computer will vary depending on the type of printer and computer you have. How to connect printer to computer wireless, here are some general steps that may help you:
- Make sure your printer is turned on and properly plugged in to an electrical outlet.
- Connect the printer's USB cable to an available USB port on your computer.
- Wait for your computer to recognize the new hardware. This may take a few moments.
- If your computer prompts you to install drivers or software for the printer, follow the on-screen instructions. You may need to download and install drivers from the manufacturer's website if they are not included with your operating system.
- Once the drivers are installed, test the connection by printing a test page or document.
If you encounter any issues during the setup process, refer to the user manual or contact the manufacturer's customer support for assistance.



Leave a comment