
The history of printers dates back to the early 19th century when inventors began experimenting with mechanical printing devices. The first successful printing press was invented by Johannes Gutenberg in the mid-15th century, which used movable type to create printed pages.

However, it wasn't until the 19th century that the first practical printing machines were developed. In 1800, William Nicholson invented the first ever rotary printing press, which used a cylinder of type to impress ink onto paper. This was followed by the invention of the steam-powered printing press by Friedrich Koenig and Andreas Bauer in 1812, which greatly increased the speed and efficiency of printing.
Throughout the 19th and 20th centuries, printers continued to evolve and improve, with new technologies such as lithography, offset printing, and digital printing being developed. In the late 1970s, the first personal computer printers were introduced, revolutionizing the way people viewed and used printed materials.
Today, printers are widely used in homes, offices, and other institutions around the world, with a variety of different types and models available to suit different needs and budgets. From traditional inkjet and laser printers to more advanced 3D printers and specialized industrial printing equipment, printers continue to play a vital role in modern society.

How to use printer
To use a printer, you will typically need to follow these steps:
- Make sure the printer is plugged in and turned on.
- Load paper into the printer's paper tray or feeder.
- Connect the printer to your computer using a USB cable or connect wirelessly if your printer supports this feature.
- Install the printer driver software on your computer if it's not already installed. This software is usually provided on a CD that comes with the printer or can be downloaded from the manufacturer's website.
- Open the document or image you want to print.
- Select "Print" from the "File" menu or press "Ctrl+P" on your keyboard.
- In the print dialog box, select the printer you want to use and adjust any print settings such as paper size, orientation, and quality.
- Click "Print" to start printing.
After the printer finishes printing, collect the output from its tray and turn off the printer.
How to connect to printer/how to connect to a printer?
Connecting to a printer can sometimes be confusing, especially if you're new to using computers. But don't worry, with the right steps, connecting to a printer is a straightforward process. In this article, we'll guide you through how to connect to a printer in just a few easy steps.
Step 1: Check Printer Compatibility
Before you begin, make sure your printer is compatible with your computer's operating system. Most printers will work with Windows and macOS, but it's always best to check the manufacturer's website to ensure that your printer is compatible with your computer.
Step 2: Power On Your Printer
Make sure your printer is turned on and connected to a power source. Some printers have an automatic power-on feature, while others require you to press the power button manually.
Step 3: Connect the Printer to Your Computer
The most common way to connect a printer to a computer is via a USB cable. Plug one end of the cable into your printer and the other end into an available USB port on your computer. If your printer supports wireless connectivity or Ethernet, you can also connect your printer to your Wi-Fi network or router.
Step 4: Install Printer Driver Software
If your printer didn't come with installation software, you can download the necessary drivers from the manufacturer's website. You can usually find drivers for your printer model under the "Support" section of their website. Once downloaded, follow the instructions to install the software on your computer.
Step 5: Set Up Your Printer
Once the printer driver software is installed, you'll need to set up your printer on your computer. Open the "Settings" or "Devices" menu on your computer and select "Printers & Scanners." Click on the "Add a Printer or Scanner" button and wait for your computer to detect your printer. Select your printer from the list of available printers and click "Add."
Step 6: Test Your Printer
Once you've completed the previous steps, it's time to test your printer. Open a document or image and select "Print." Choose your printer from the list of available printers and click "Print." If everything is working correctly, your printer should start printing the document.
In conclusion, connecting to a printer may seem daunting at first, but by following these simple steps, you can quickly set up your printer and start printing in no time. Remember, if you encounter any issues during the setup process, refer to your printer's instruction manual or contact the manufacturer for assistance.
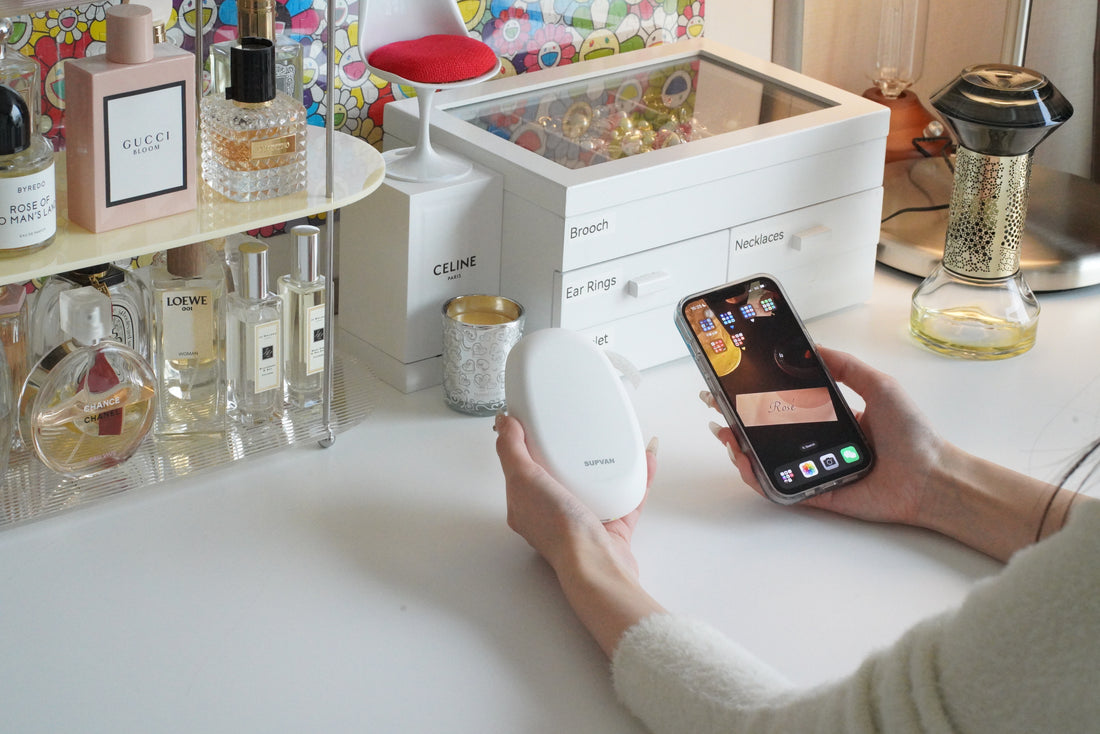
How to connect a printer / how to connect printer with smart phone?
To connect a printer with a smartphone, you can follow these general steps:
- Ensure that your printer is compatible with mobile printing and that it is connected to the same Wi-Fi network as your smartphone.
- Download and install the manufacturer's printing app for your smartphone. This app will enable you to print documents and photos directly from your phone.
- Open the printing app on your smartphone and select the document or photo you wish to print.
- Select your printer from the list of available printers displayed in the app.
- Choose the necessary print settings such as paper size, color, orientation etc., and hit the print button to start printing.
Alternatively, if your printer does not support mobile printing or there is no app available for your specific model, you can opt to use a third-party printing app like Google Cloud Print or Apple AirPrint, which allows you to print from any device connected to the internet.
Leave a comment