
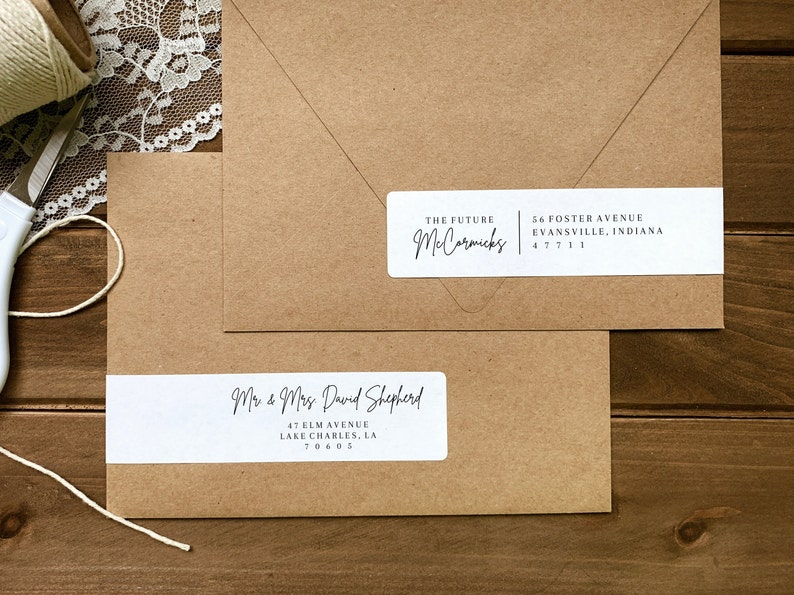
When you're ready to send a letter, when you want to personalize invitations for your newborn daughter's baby shower, when you want to make your wedding invitations look more perfect, when you want to DIY some fun and cute blessing stickers, a delicate and clean printable label can help you achieve that.
This month, St. Patrick's Day is coming, which is a good opportunity to unleash your creativity and enjoy the fun of decorating. One of the easiest ways to make your home look festive is to print some green labels and stick them on things around the house.
You can also host a St. Patrick's Day party. You can use green stickers with shamrocks on them to make food, drinks, and party supplies look festive. The stickers can be used to label food and drinks, as well as other items like cups. You can also attach stickers to the back of the invitations and add names, addresses, and invitations words on the labels. If you want something special, you can also use the stickers to make name tags for your guests!

Many people have tried to purchase envelope address labels from the internet. However, some have been disappointed with wrap-around address label templates, as they can be frustrating to use, and some printable address labels may not align correctly. Additionally, the editing website can be laggy. Furthermore, purchased label paper is often of a fixed size, which can result in size mismatches, such as the label paper being too short or too narrow.
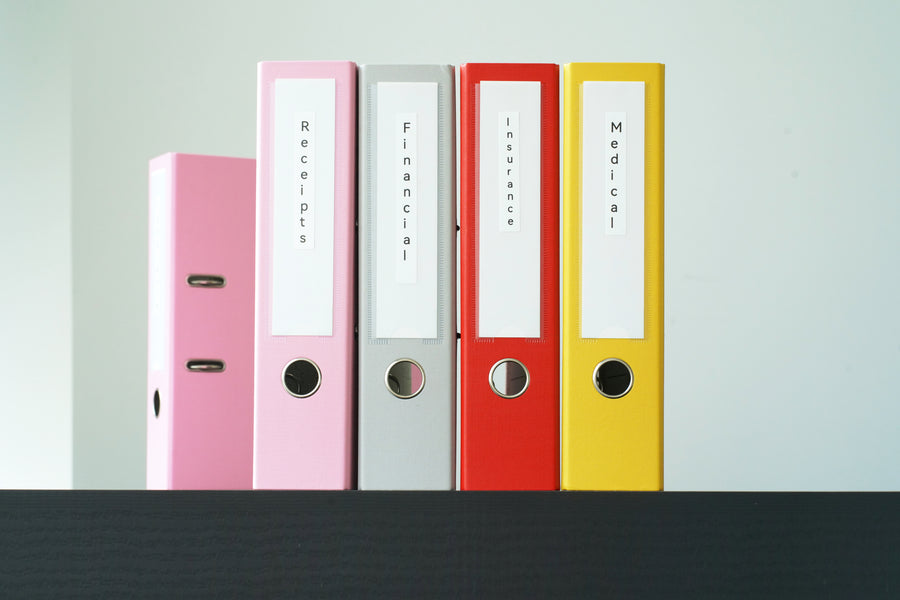
In fact, most people are not aware that there is a handy little tool that can completely solve this problem. With a label printer, you can customize labels of various sizes and even DIY all kinds of super cute stickers. With this small machine, you can design and print custom labels anytime, anywhere, without the need to order stickers online and wait for long shipping times.
With this portable label machine, you can do it all from the comfort of your own home, saving you time and hassle.
In this article, we will guide you through the process
Step 1: Choose the right label maker
The label maker can vary depending on individual needs and preferences. Some of the factors to consider when choosing a label maker include the type of label you need, the features you require, and your budget.Some popular label makers include:
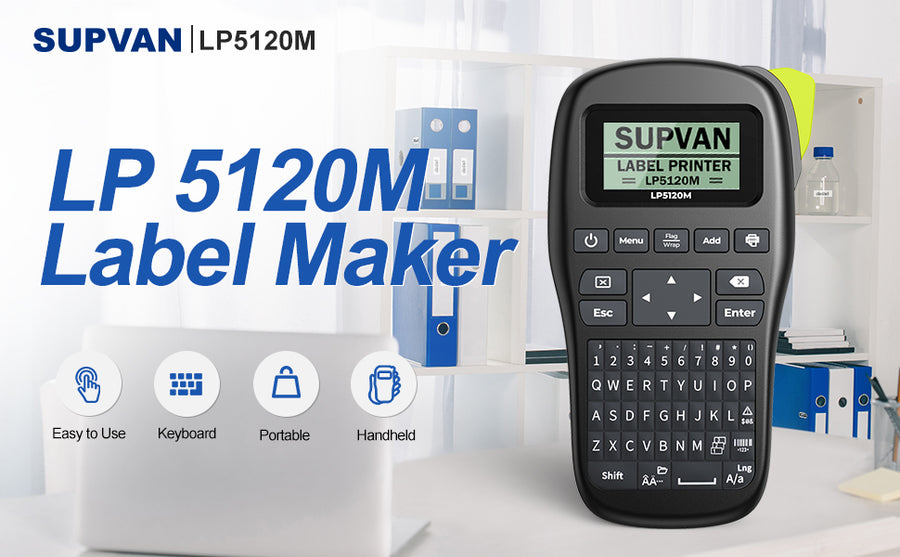
SUPVAN Label Maker : This is a popular option for office and home use, and is known for its fast printing speed and the thermal printer is small in size and produces very little noise during operation. The printed text or picture is clear, and it is moisture-proof and sun-proof, very durable. No matter how many years we have used it, the handwriting is still very legible.
Brother P-Touch PTD600: This label maker is known for its sleek design, easy-to-use interface, and a range of advanced features, including a color display, the ability to print barcodes, and the ability to print wire/cable labels.
Epson LabelWorks LW-300: This is a compact and portable label maker that is known for its easy-to-use interface and wide range of label types, including cable labels and heat shrink labels.
Casio KL-60SR: This is a basic label maker that is great for home use. It is known for its simplicity and affordability.
Ultimately, the best label maker for you will depend on your specific needs and budget. It is recommended that you research different models, read reviews, and compare features to determine which label maker is best for you.
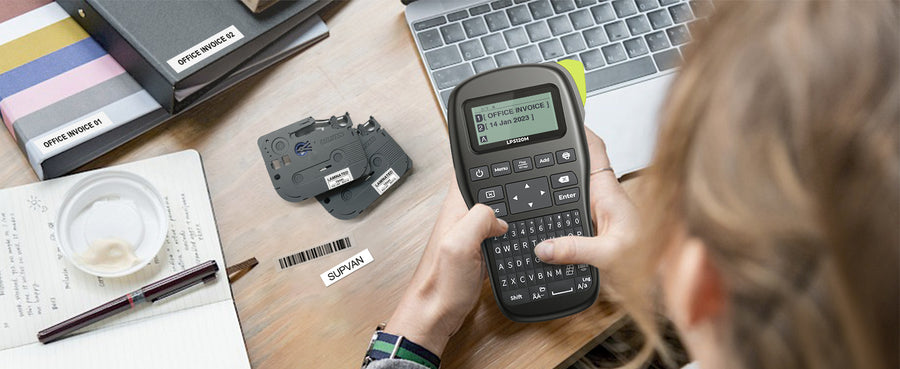
Step 2: Download printing software
The next step is to prepare the printing software, which is used to transfer the design onto the label material. Most of the printing software is free, and different label maker manufacturers will develop different matching printing software, which can be found by searching the brand name in the app store. Once the app is installed, connect the label maker to your mobile via Bluetooth that comes with the printer. Your mobile should automatically recognize the label printer.
Step 3: Edit the Labels
you can select a label template to use. Enter your label text: Next, enter the text you want to appear on your label. You can customize the font, size, and color of the text to suit your needs.
Step 4: Print the labels
After editing the labels, click the print button to pop up a prompt box, which allows you to select the number of copies and the density of the printed text. Once selected, you can start printing.
Step 5: Attach the Shipping Label to Your Package
Finally, attach the address label to the invites or package, making sure that it is securely affixed and easily visible. If labeling package, please ensure that any other required shipping labels or documents, such as customs forms, are also included with the package.
In conclusion, printing shipping labels at home is a simple and convenient way to save time and money. By following these five steps, you can easily print address labels from the comfort of your own home. Enjoy everyday!
Leave a comment