

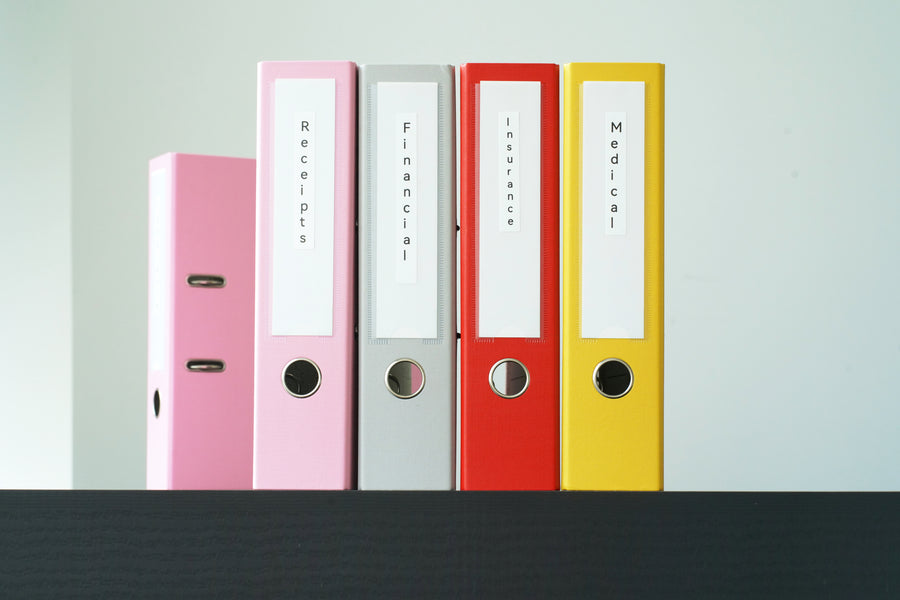
DIY labeling projects have become increasingly popular in recent years due to several reasons. Firstly, the rise of social media platforms has enabled individuals to easily share and discover creative DIY ideas, including labeling projects. Secondly, DIY labeling projects offer a cost-effective solution for personalizing items or creating custom product labels for small businesses. Thirdly, these projects provide an opportunity for individuals to express their creativity and design skills, which can be a fun and fulfilling experience. Lastly, with the availability of various crafting materials and tools, it has become easier for anyone to create high-quality custom labels from the comfort of their own home.

And why DIY labeling project is so popular this day, one of the reasons is that most of the labels are waterproof and oil-proof. Waterproof sticker printing is a process of creating stickers that are designed to resist water damage. These stickers are made from materials that are specifically designed to withstand exposure to water, moisture, and other environmental factors that can cause regular stickers to smudge or peel off.
Waterproof stickers are commonly used for outdoor applications, such as on boats, cars, or outdoor equipment. They can also be used for indoor applications where moisture may be present, such as in bathrooms or kitchens
The process of waterproof sticker printing involves using special materials, inks, and techniques to create durable and long-lasting stickers that are resistant to water damage. This involves selecting the right type of material, using waterproof ink, adjusting printer settings, allowing time for drying, and sealing the stickers with a clear coat to protect them from water exposure.
Overall, waterproof sticker printing provides a great solution for creating stickers that are designed to last even in harsh environments, making them perfect for a wide range of applications.

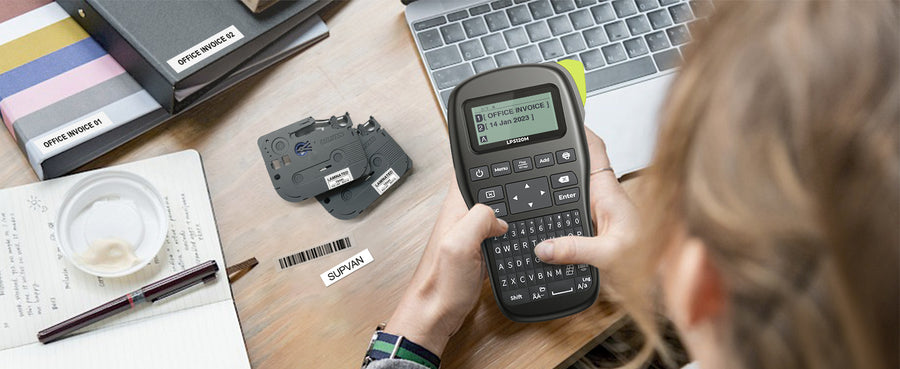
To set up a label maker for DIY labeling products, follow these steps:
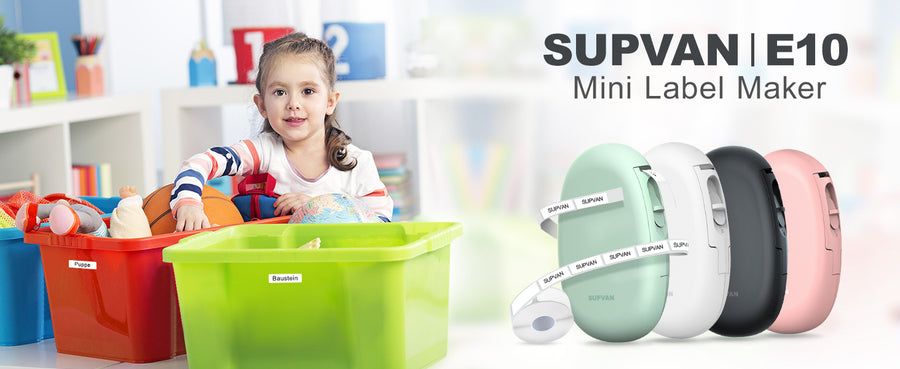
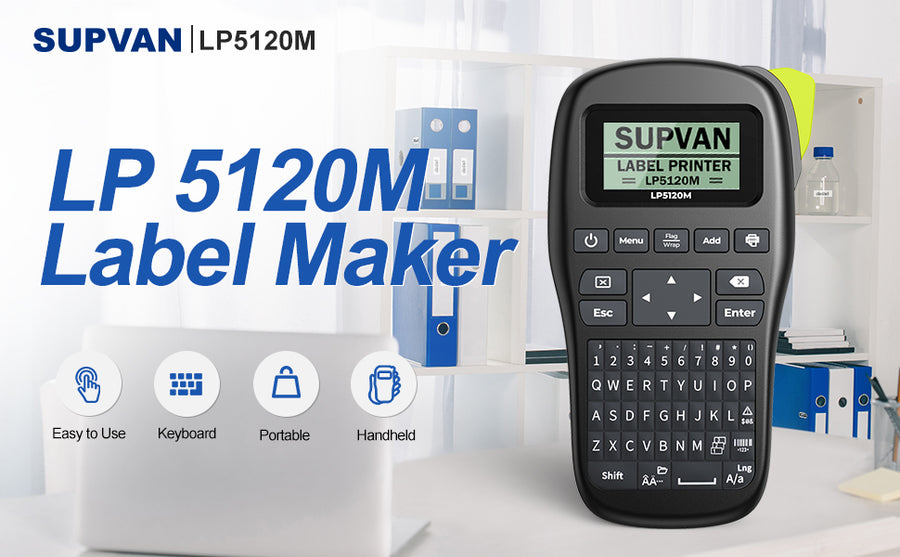
- Choose a label maker: There are many different types of label makers available in the market. Choose one that suits your needs and budget.
- Choose the label type: Depending on the type of product you want to label, choose the appropriate label type. For example, if you want to label jars, you might choose round labels. If you want to label clothing items, you might choose iron-on labels.
- Install batteries or plug in the adapter: Most label makers come with the option to use batteries or an AC adapter. Follow the instructions provided by the manufacturer to install the batteries or plug in the adapter.
- Insert label tape: Open the label maker and insert the label tape according to the instructions provided by the manufacturer. Make sure the tape is fed through the guide and cutter.
- Turn on the label maker: Turn on the label maker and select the font, size, and style of the text you want to print on the label.
- Type the text: Use the keyboard on the label maker to type the text you want to print on the label.
- Print the label: Press the print button on the label maker to print the label. Once the label has been printed, cut it using the built-in cutter on the label maker.
- Apply the label: Peel off the backing paper from the label and apply it to the product you want to label.
With these simple steps, you can set up a label maker for DIY labeling products.
You may wonder how to change printer settings to labels, follow these steps:
- Open the document or image you want to print.
- Click on "File" in the top left corner of the screen and select "Print".
- The printer dialog box will open. Select your label printer from the list of available printers.
- Click on "Properties" or "Printer Properties" button.
- In the properties dialog box, choose the appropriate label size from the drop-down list. If the particular size you need is not listed, you may need to create a custom label size in the printer settings.
- Make any necessary adjustments to the margins, orientation and other print settings to match your label dimensions and design.
- Click "OK" to save the changes.
- Preview your print job to ensure that the label is properly formatted before printing.
- When ready, click "Print" to print your labels.
That's it! With these simple steps, you can change printer settings to print labels.
Leave a comment